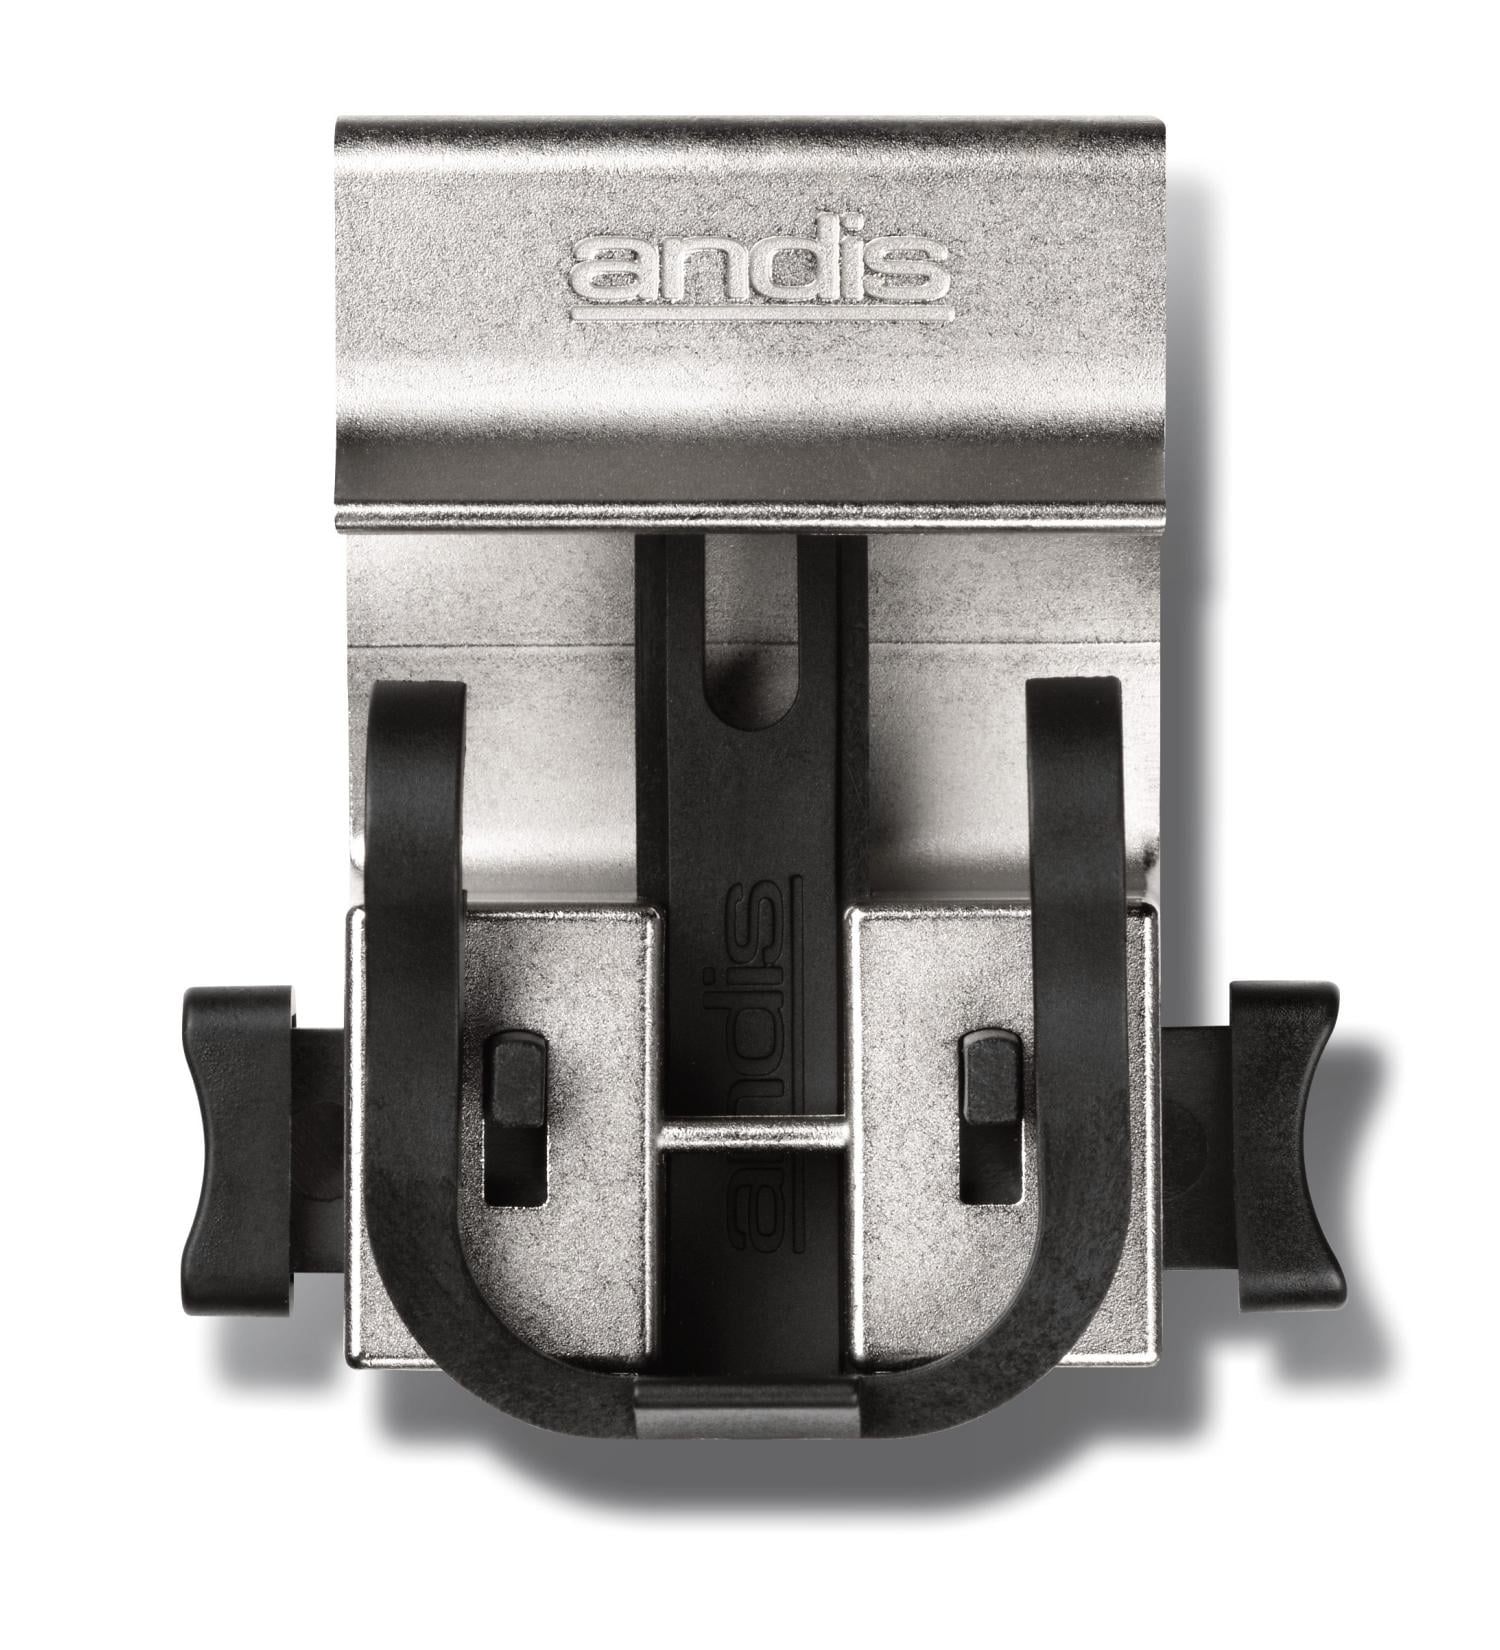
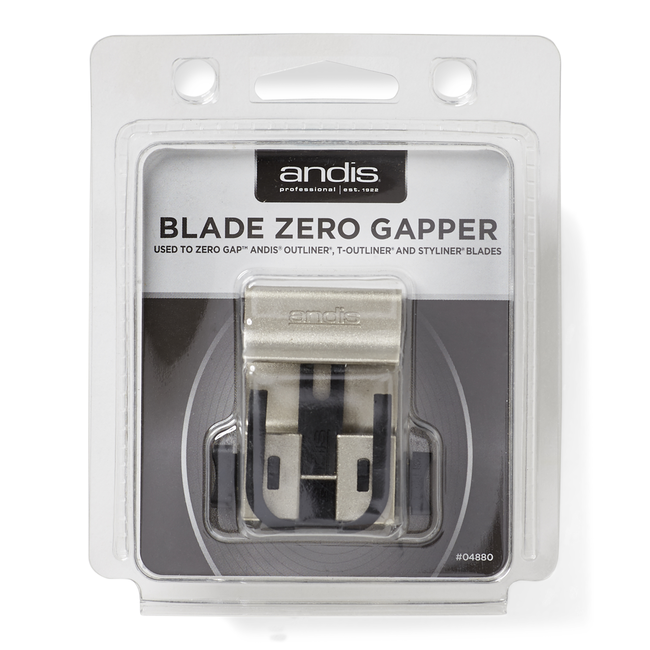
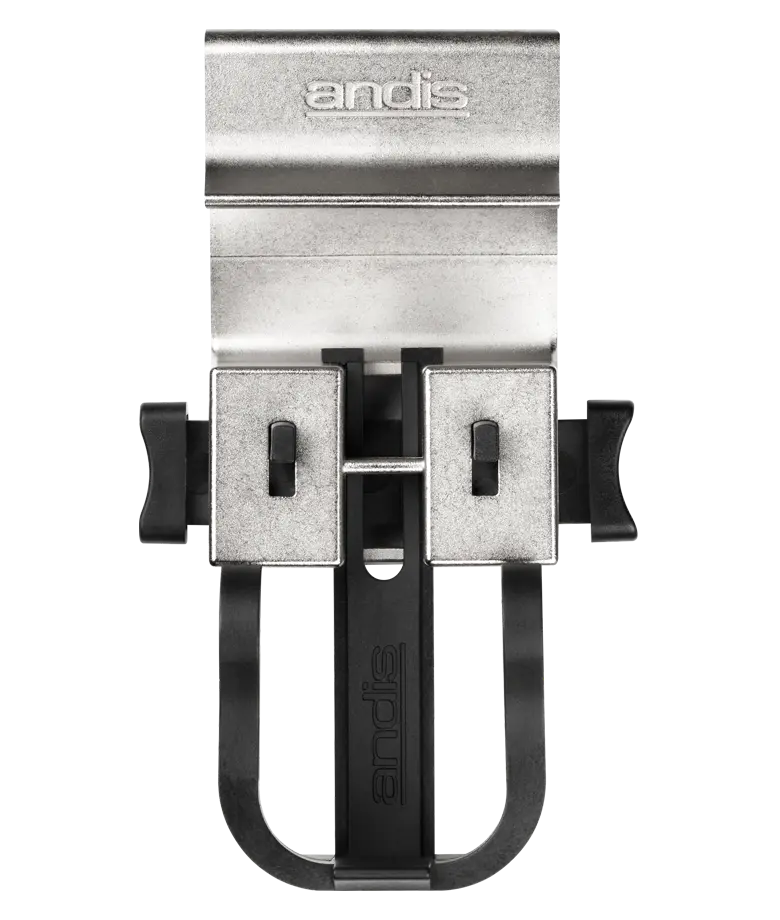
The Andis Blade Zero Gapper Tool is a blade alignment aid designed to help set compatible clipper and trimmer blades close together for sharp, clean cutting. It helps with adjustment, but it does not make every blade or clipper safe for zero-gap use.
Barbers across the United States use detail trimmers to clean up necklines, shape beards, and create sharp edges around the hairline. Getting those crisp lines depends in part on how the cutting blades meet. The Andis Blade Zero Gapper Tool, model 04880, is designed to help with that blade setup.
A close blade setting can improve detail work, but there is a trade-off. Blades set too close may scrape skin, cause irritation, or nick the person in the chair. The right approach is to check compatibility, follow the manufacturer’s instructions, and test the adjustment before putting the trimmer against someone’s skin.
Source: gosupps.com
What Is the Andis Blade Zero Gapper Tool?
The Andis Blade Zero Gapper Tool is a small grooming accessory made to help align compatible clipper and trimmer blades during adjustment. It is identified as model 04880. Its purpose is to help position the cutting parts close together when a user wants a closer setting for detailed grooming.
The term zero gap does not always mean that two blades should physically touch. Instead, it refers to a very close relationship between the moving cutting blade and the stationary blade. The exact safe position depends on the blade design, the clipper or trimmer model, and the manufacturer’s guidance.
This accessory does not sharpen a dull blade, repair a damaged cutter, or increase the motor’s power. It is a setup aid. A worn, bent, chipped, or poorly maintained blade still needs proper service or replacement.
Source: thesalonstorebermuda.com
Main purpose
Helps position compatible blades during adjustment for close detail work.
Model identification
The product is commonly identified as the Andis 04880 Blade Zero Gapper Tool.
Important limit
The tool cannot make an incompatible blade assembly suitable for zero-gap adjustment.
What Does Zero Gapping Mean?
Most clipper and trimmer blade sets use a moving blade that slides against a stationary blade. Hair enters the cutting area, where the two parts work together to cut it. Their relative position affects how closely the tool can cut and how the blade edge meets the skin.
Zero gapping brings the cutting edges into a very close alignment. This can help create crisp outlines around sideburns, beard edges, and the neckline. It does not mean the tool will remove every hair below skin level, nor does it guarantee a better cut for every person.
Close alignment
A very small gap may support precise outlining when the blade design permits it.
Not a universal setting
Some blade assemblies are not designed for this adjustment, so follow the instructions for the exact model.
What Is the Andis 04880 Tool Used For?
The main use of the Andis zero gapper is blade setup for close trimming and outlining. Barbers may want a trimmer to create a neat line around a beard, sharpen the edge of a haircut, or clean up small areas around the ears. A suitable blade adjustment can help with these tasks when the tool is designed for close cutting.
The accessory is most relevant to people who maintain their own grooming tools or regularly service trimmers. A home user who only trims a beard once in a while may not need it. A barber who often adjusts compatible blades may find a dedicated alignment aid more useful than trying to judge the blade position by eye alone.
The exact adjustment process and compatible models should be checked against current Andis product documentation. Retailer descriptions often mention Andis outliner, T-Outliner, and Styliner products, but that wording should not be treated as proof that every version of those product families fits. Check the exact model and blade assembly before proceeding.
Source: barbersupplies.vegas
Hairline detailing
A close, well-aligned blade may help create clean edges around the forehead and temples.
Beard and mustache lines
Proper blade setup can support precise outlines around the cheeks, lips, and jaw.
Neckline cleanup
A compatible trimmer can help define the lower edge of a haircut or beard.
Blade maintenance
The tool may assist with repeatable adjustment, but it does not replace cleaning, lubrication, or blade replacement.
Who May Benefit From It?
Professional barbers and experienced home groomers are the most likely users to benefit from a blade alignment tool. They may adjust blades more often and need a consistent setup for detailed work. A beginner can also learn the process, but should start with the manufacturer’s adjustment instructions rather than chasing the closest possible setting.
If your current trimmer already produces the finish you need, changing the blade setting may offer little benefit. A close setting is a preference for certain tasks, not a requirement for every haircut or beard trim.
Useful for
Users who understand their blade assembly and need a repeatable adjustment process.
Less useful for
Users with damaged blades, incompatible equipment, or no need for closer outlining.
How to Use an Andis Blade Zero Gapper Tool
Start by identifying your exact trimmer and blade model. Read the instructions for both the trimmer and the alignment tool before removing any parts. The steps below describe a general preparation and safety process, not a substitute for the model-specific directions supplied by Andis.
Unplug a corded trimmer before servicing it. Remove the battery from a cordless model when the design permits, and make sure the motor cannot start during adjustment. Let a recently used blade cool, then clean away loose hair so debris does not interfere with alignment.
Source: andis.com
Before starting
Prepare the correct tool, a clean work surface, the model-specific instructions, and suitable cleaning supplies.
Do not force parts
If the alignment aid does not sit correctly or the blade assembly does not match the instructions, stop and check compatibility.
Step 1: Check the Trimmer and Blade
Confirm the model number on the trimmer and identify the blade assembly. Look for cracks, bent teeth, chips, loose parts, and signs of heavy wear. Do not attempt to zero gap a blade that is damaged or has an uncertain fit.
Confirm compatibility
Match the exact device and blade to the current instructions.
Inspect the cutting teeth
Stop if teeth are bent, broken, or visibly uneven.
Step 2: Prepare the Blade Assembly
Switch off the trimmer and disconnect its power source. Follow the manufacturer’s directions for removing or loosening the blade assembly. Keep track of screws and parts, and avoid changing the blade tension or other settings unless the instructions require it.
Keep parts organized
Place screws and removable components in a clean tray so they do not get lost.
Avoid excess force
Use the correct tool for the fasteners and do not bend the blade to make it fit.
Step 3: Align the Blades With the Tool
Position the Andis 04880 alignment aid as directed in its instructions. Set the moving and stationary blades to the prescribed relationship for that blade assembly. Do not assume that the front edges should touch or that one universal gap applies to every trimmer.
Check the blade from the front and both sides. The cutting teeth should sit in the intended alignment, with no part projecting beyond a limit specified by the manufacturer. If the tool will not hold the blade in the correct position, stop rather than forcing the assembly.
Follow the supplied method
Use the correct reference points and alignment procedure for the exact blade model.
Check both sides
Uneven positioning can cause poor cutting, scraping, or injury.
Step 4: Secure and Inspect the Assembly
Tighten the blade fasteners according to the manufacturer’s instructions while keeping the blade in the correct position. Do not overtighten screws or allow the cutting parts to shift as you secure them. Remove the alignment aid and check the assembly again before restoring power.
Check for movement
The blade assembly should be secure, with no loose screws or unexpected shifting.
Recheck the edges
Confirm that the blade remains within the model’s stated alignment limits.
Step 5: Test Before Grooming
Follow the manufacturer’s instructions for restoring power and checking the trimmer. Listen for unusual noise and watch for excessive vibration, snagging, or heat. If anything seems wrong, switch it off immediately and inspect the setup again.
Do not test sharpness by dragging the cutting edge across your skin. Do not place your fingers near moving teeth. If the adjustment cannot be confirmed as safe, return the blade to its approved setting or ask a qualified barber equipment technician for help.
Signs of a good setup
The blade is secure, the trimmer runs normally, and there is no visible misalignment or unusual vibration.
Signs to stop
Scraping, snagging, a sharp new rattle, excess heat, or visible tooth misalignment means the tool needs inspection.
Which Andis Clippers and Trimmers Are Compatible?
Compatibility depends on the blade assembly, not just the brand name printed on the trimmer. The Andis 04880 tool is marketed for blade zero-gapping, and some retail listings associate it with outliner, T-Outliner, and Styliner products. Those family names alone do not confirm fit for every generation, regional version, or replacement blade.
Before ordering, compare the model number on your device with the current Andis product details. Check whether the instructions list your blade assembly and whether any special adapter or part is required. If the listing does not clearly identify your model, contact Andis support or the seller before buying.
Do not force the tool onto an unfamiliar blade or use a setup guide for a different model. Similar-looking blades may have different dimensions, fasteners, or adjustment limits. A poor fit can lead to a blade that shifts during use or sits too close to the skin.
Source: greatbuysales.com
Read the exact model number
Use the number printed on the trimmer or its product label rather than relying on appearance alone.
Check replacement blades
A compatible trimmer body does not automatically confirm that every aftermarket blade fits the alignment tool.
Verify before purchase
Ask the manufacturer or seller if the listing does not state compatibility clearly.
Can You Use It on Any Brand?
Do not assume the Andis tool works with every clipper or trimmer brand. A tool that fits one blade assembly may not line up correctly with another brand’s design. Use it only when the manufacturer’s instructions or confirmed product information support that combination.
Brand is not enough
Check the precise blade and device combination before adjusting it.
Avoid improvised alignment
Do not substitute coins, loose metal pieces, or other makeshift spacers for the intended tool.
Zero Gapping vs. the Standard Blade Setting
A standard blade setting generally leaves the blade in the position specified for normal operation. A zero-gap adjustment brings the cutting edges closer for detailed work, when the blade assembly permits it. Neither setting is automatically best for every user.
The main trade-off is closeness versus tolerance for error. A closer setting may create a sharper outline, but it can also leave less room for misalignment. A standard setting may be more suitable for general trimming, sensitive skin, or users who do not need extremely crisp edges.
Source: wonderbeautysupply.com
Standard setting
A practical starting point for routine grooming and for users who prioritize the manufacturer’s normal setup.
Close or zero-gap setting
May suit detailed outlining when the device supports the adjustment and the blade remains within safe limits.
Best choice
Use the least aggressive setting that delivers the finish you need without scraping or discomfort.
Does Zero Gapping Cut Better?
It can help with close outlines, but it does not make every haircut better. The result also depends on blade sharpness, motor condition, cutting technique, hair type, and the angle at which the trimmer meets the hair. A close setting cannot fix a dull blade or a failing motor.
For a user who mainly trims large areas, the difference may not justify the extra adjustment work. For a barber who needs precise edges, a properly adjusted compatible trimmer may be more useful. The best result is the one that meets the grooming need without causing skin damage.
Potential benefit
More precise edge work when the blade and device are designed for close adjustment.
Potential downside
Greater sensitivity to blade position and a higher risk of irritation if adjustment is too aggressive.
Safety Tips for Zero-Gapped Trimmer Blades
Treat a zero-gapped trimmer as a precision cutting tool. The blade sits close to the skin during outlining, so even a small alignment error can cause a nick or scrape. Safe setup matters more than achieving the smallest possible gap.
Follow the instructions for your exact device, keep the blade clean, and inspect it before each use. If you are trimming another person, check for discomfort as you work and stop if the blade pulls, scratches, or feels unusually hot. Do not keep using a trimmer that shows signs of damage.
Source: andis.com
Disconnect power during adjustment
Prevent accidental activation while handling exposed cutting teeth.
Keep the blade clean
Remove hair and debris according to the manufacturer’s cleaning instructions.
Avoid damaged blades
Replace or service blades with chipped, bent, or broken teeth.
Do not share contaminated tools
Clean and disinfect grooming equipment between users with products and methods approved for the device.
Stop when irritation occurs
Turn off the trimmer if it scratches, pulls hair, or causes unexpected discomfort.
Why Can a Zero-Gapped Blade Cut Skin?
A blade may nick skin when the moving cutter extends too far, the stationary blade is poorly positioned, or the cutting teeth are damaged. Pressure and angle can also affect how the edge meets the skin. A setting that works for one blade design may be unsafe for another.
Skin irritation can also occur without an obvious cut. Repeated passes, friction, heat, and close contact may leave the skin red or sore. Do not treat pain or redness as a normal part of achieving a sharp line.
Misaligned teeth
Stop using the blade and correct the alignment according to the manual.
Heat or friction
Switch off the trimmer, let it cool, and inspect it before resuming.
Persistent skin symptoms
Stop grooming the affected area and seek medical advice if symptoms worsen or do not settle.
Cleaning and Maintaining the Tool and Blades
Regular care helps a trimmer work as intended and makes blade problems easier to spot. Clean away hair after use, apply clipper oil as directed, and follow the manufacturer’s instructions for disinfecting the blade. Do not soak electrical parts or use a cleaning product that the device instructions prohibit.
The zero gapper itself should be kept clean and stored where it will not bend or become damaged. Inspect it before use. If it no longer holds or positions the blade as intended, stop using it and check with the manufacturer or seller about replacement options.
Source: andis.com
After each grooming session
Brush away loose hair and clean the blade using the approved method.
Lubricate as directed
Use clipper oil where required, following the device manual rather than adding excess oil.
Check screws and alignment
Look for loose fasteners, worn parts, and changes in blade position.
Store it safely
Keep the alignment tool and blade parts in a dry, clean place away from impacts.
When Should You Replace a Blade?
Replace or professionally service a blade when its teeth are damaged, it no longer cuts properly after cleaning and correct lubrication, or the assembly cannot be aligned as specified. Repeated pulling or snagging can signal a problem, although hair buildup and poor maintenance may also contribute.
Do not keep adjusting a worn blade in an attempt to restore its performance. A zero gapper can help with positioning, but it cannot restore missing metal or repair a damaged cutting edge.
Replace or service
Choose repair or replacement when the blade is damaged or cannot hold its proper alignment.
Check other causes first
Clean the blade and follow the approved maintenance steps before assuming the blade itself has failed.
Common Problems and How to Fix Them
If a trimmer does not cut well after adjustment, do not move the blade closer right away. First, turn off the device and check the blade assembly, cleanliness, lubrication, and fasteners. A simple maintenance issue can look like an alignment problem.
The safest troubleshooting order is to rule out damage and incorrect assembly before making another adjustment. If the blade continues to behave poorly, return to the manufacturer’s recommended setting and seek help rather than repeating uncertain changes.
Source: knightsbeauty.com
The trimmer pulls hair
Clean the blade, check lubrication, inspect for damage, and verify that the blade is assembled correctly.
The blade scratches skin
Stop using the trimmer. Check for projecting teeth or an overly close setting and restore the approved alignment.
The blade makes a new rattling sound
Switch off the device and inspect the fasteners and assembly. Do not run it while parts appear loose.
The tool does not fit
Confirm the model and blade compatibility. Do not force the alignment tool onto the blade.
The trimmer gets unusually hot
Stop, disconnect power, and let it cool. Check the manufacturer’s guidance before using it again.
When Should You Stop Troubleshooting?
Stop if you find broken teeth, damaged wiring, a loose motor part, or a blade that cannot be aligned securely. These issues may require replacement parts or qualified repair. A blade adjustment tool is not a repair tool for electrical or mechanical damage.
If you cannot confirm that the blade sits within the manufacturer’s safe limits, do not use it on skin. A barber equipment technician or the manufacturer’s support team can help identify the correct setup.
Seek qualified help
Use a trained repair service when damage or an uncertain blade setup remains after basic checks.
How to Choose and Buy the Right Zero Gapper
Before buying the Andis Blade Zero Gapper Tool, confirm that it matches your trimmer and blade. Start with the model number, then compare the current manufacturer’s details with the seller’s listing. This reduces the chance of ordering a tool that looks right but does not work with your equipment.
Compare the complete item description, package contents, return policy, and seller details. Product images can help identify the tool, but a picture alone does not confirm compatibility. If the seller lists only a broad family name, ask for confirmation of your exact model before placing the order.
Price and availability can change, so check current listings rather than relying on an old price or a past promotion. A low price is not useful if the product is incomplete, damaged, or incompatible. For a professional shop, predictable fit and support may matter more than a small difference in cost.
Source: andis.com
Confirm the model
Check that the listing identifies the Andis 04880 tool and supports your blade assembly.
Inspect the package details
Confirm what is included and whether any additional parts are needed.
Review the return terms
Choose a seller with clear terms in case the tool does not match the stated specifications.
Check the source
Use Andis documentation or a reliable seller for compatibility and setup details.
Is the Andis Zero Gapper Worth Buying?
It may be worth buying if you regularly adjust compatible blades and need a repeatable setup method. It may be unnecessary if you rarely change blade settings or if your trimmer already provides the finish you want. The value depends on your equipment, skill, and actual grooming needs.
Do not buy the tool expecting it to sharpen blades, fix a faulty trimmer, or guarantee a perfectly sharp lineup. Those results depend on the blade condition, correct adjustment, device performance, and technique.
Consider it
If you often set up compatible trimmers and can follow the correct adjustment procedure.
Skip it for now
If your current blade setting works well or your device is not confirmed as compatible.
Frequently Asked Questions
Q
What does the Andis Blade Zero Gapper Tool do?
The Andis Blade Zero Gapper Tool, model 04880, helps align compatible clipper and trimmer blades for a very close setting. It supports blade adjustment for detailed outlining, but it does not sharpen blades or repair damage. Follow the instructions for your exact device and blade.
Q
Is the Andis 04880 compatible with every Andis trimmer?
No. Compatibility depends on the exact trimmer and blade assembly. Some retailer listings mention outliner, T-Outliner, and Styliner models, but this does not confirm fit for every version. Check current Andis documentation or ask the manufacturer before adjusting your blade.
Q
Can zero gapping a trimmer cause cuts?
Yes. If the cutting teeth extend too far, the blade is misaligned, or the user applies poor technique, the trimmer may scratch or cut skin. Use only an approved adjustment, inspect the blade, and stop using it if it causes pain or irritation.
Q
Does a zero gapper sharpen clipper blades?
No. A zero gapper is an alignment aid, not a sharpening device. If a blade is dull, chipped, bent, or worn, follow the manufacturer’s guidance for servicing or replacement. Moving a damaged blade closer will not restore its cutting edge.
Q
Can beginners use the Andis Blade Zero Gapper Tool?
Beginners can learn blade adjustment, but they should start with the instructions for the exact trimmer and blade. Do not aim for the smallest possible gap or copy settings meant for another model. If you cannot verify safe alignment, ask a qualified barber equipment technician for help.
✦ Wrapping Up
Conclusion
The Andis Blade Zero Gapper Tool is designed to help set up compatible trimmer blades for close, detailed grooming. It may help barbers and experienced home users create neat outlines, but the result depends on correct compatibility, blade condition, and careful adjustment.
The safest approach is to confirm the exact model, follow the current manufacturer’s instructions, and inspect the blade before use. A close setting is useful only when the blade remains within its approved limits. If the trimmer scratches skin, pulls hair, vibrates in an unusual way, or will not hold alignment, stop and check the setup.
💡 Key Takeaway
Before buying or adjusting the Andis 04880 Blade Zero Gapper Tool, verify your exact trimmer and blade model, read the current instructions, and never use a blade whose alignment or condition is uncertain.